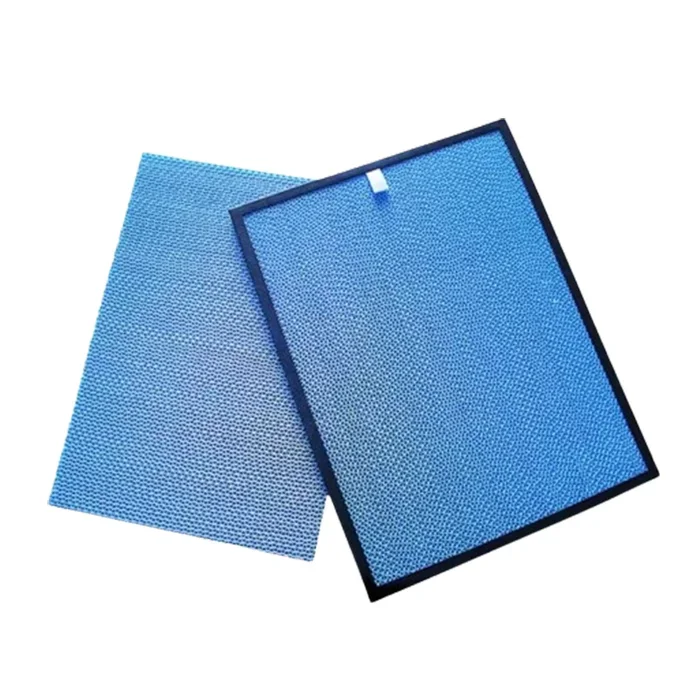
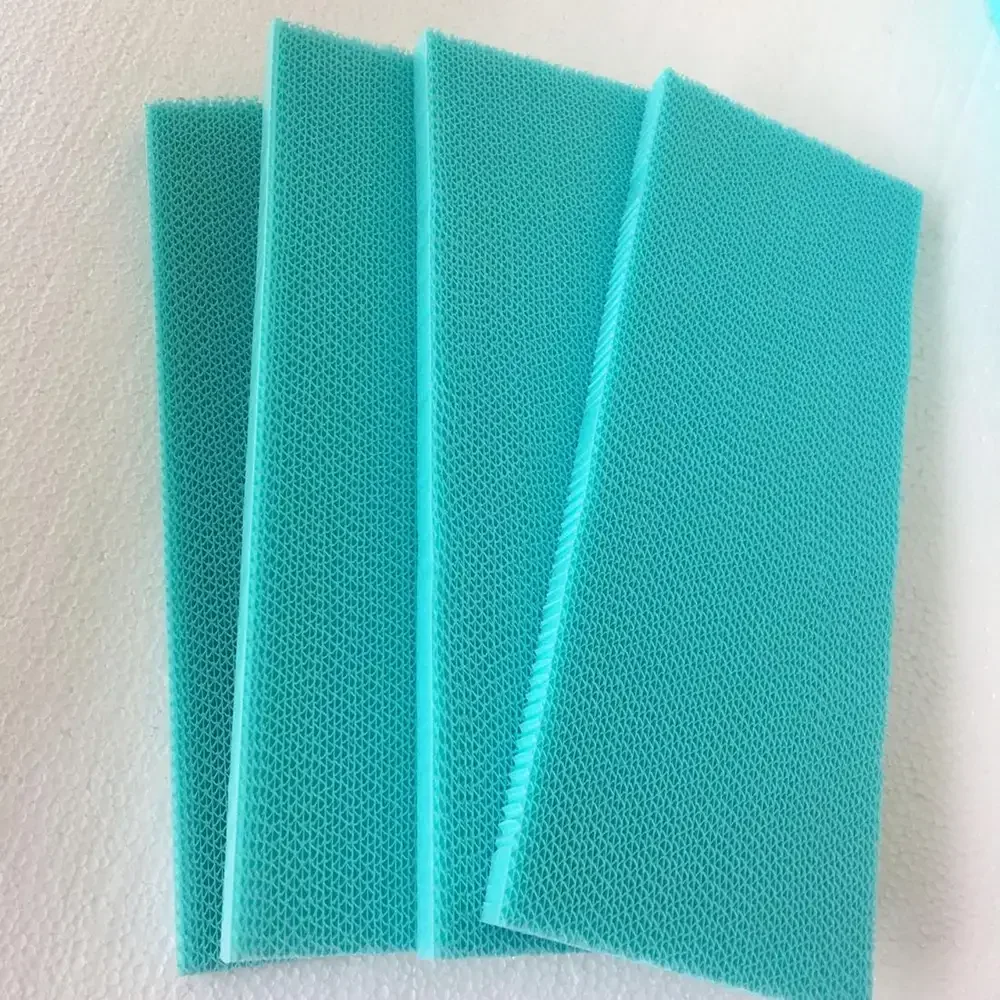
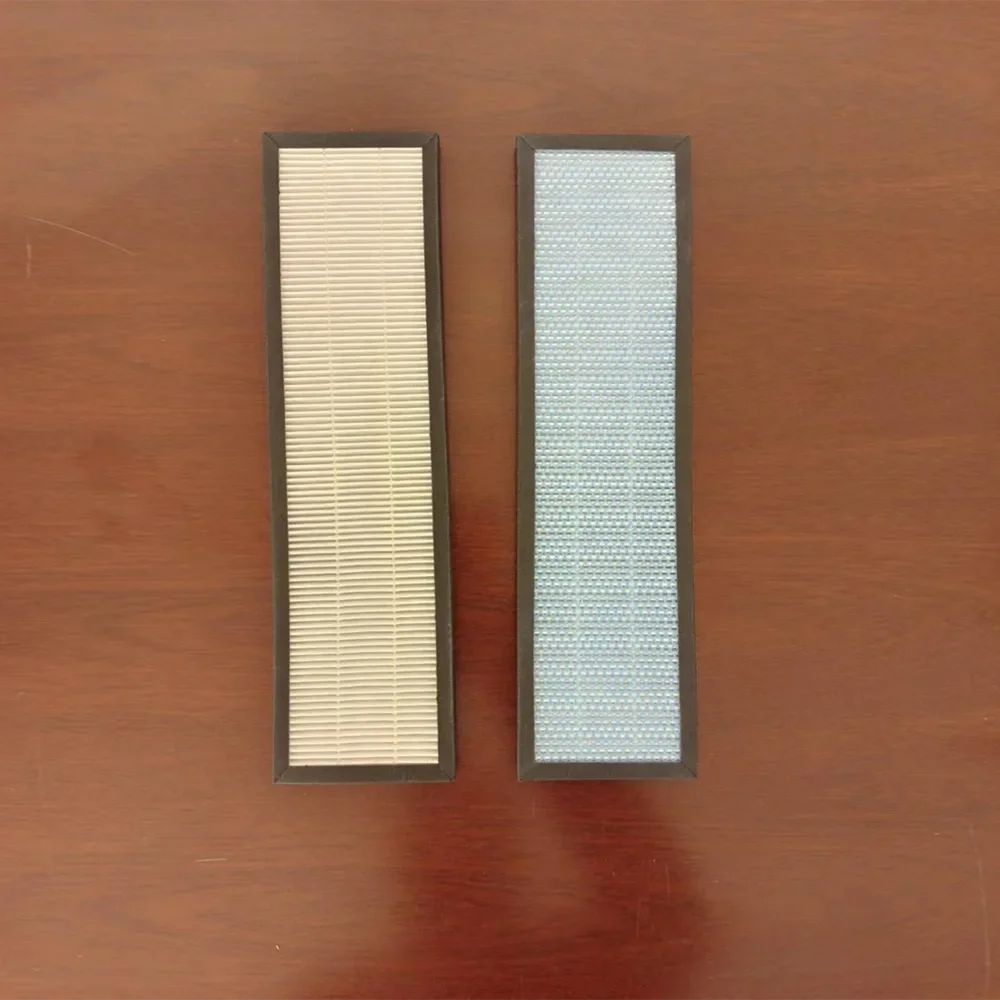
Maintaining your air conditioning system is crucial for ensuring optimal performance and air quality in your home. One of the simplest yet most important maintenance tasks is regularly changing or cleaning the air conditioning filter. This guide will walk you through the steps to effectively remove an air conditioning filter, whether it’s for a central system, a window unit, or a split system.
Why Regularly Change Your AC Filter?
Before diving into the how-to, it's essential to understand why changing your AC filter is necessary:
Improved Air Quality: A clean filter traps dust, pollen, pet dander, and other airborne particles, contributing to healthier indoor air quality.
Energy Efficiency: Clogged filters restrict airflow, forcing your AC unit to work harder and consume more energy. Regular changes can lower your energy bills.
Extended Lifespan of Your System: Keeping the filter clean reduces strain on the AC unit, potentially extending its lifespan and reducing repair costs.
Preventing Mold Growth: Filters that are not cleaned or replaced can become breeding grounds for mold and mildew, which can be harmful to health.

Identifying Your Air Conditioning Filter
The first step in removing your air conditioning filter is locating it. The position of the filter varies based on the type of AC system you have:
Central Air Conditioning Systems: Typically found in the return duct leading to the air handler or near the thermostat.
Window Units: Usually located behind the front grille; you may need to press tabs or clips to access it.
Split Systems: Often behind a front panel that can be lifted or removed.
If you're unsure where to find your filter, refer to your owner’s manual for specific instructions.
Tools You May Need
While changing an AC filter usually requires minimal tools, having these items on hand can make the process easier:
Screwdriver (if screws are involved)
Vacuum cleaner with a brush attachment
Mild detergent (for washable filters)
Basin or sink (for cleaning)
Cloth for drying

Step-by-Step Guide to Remove Your AC Filter
1. Turn Off Your AC Unit
Safety is paramount. Before starting any maintenance work, ensure that your air conditioning unit is turned off at both the thermostat and the power supply. This prevents any accidental activation while you’re working.
2. Locate the Access Panel
Depending on your system type:
For central systems, look for a dedicated access panel on the return duct.
For window units, gently pull off the front grille.
For split systems, unclip or lift the front panel.
3. Remove the Old Filter
Carefully slide out the old filter:
Central Systems: Unlatch or unscrew the access panel and gently pull out the filter.
Window Units: Lift out the filter from its slot after removing the grille.
Split Systems: Pull out the filter from its designated area.
Inspect the condition of the filter as you remove it. If it appears dirty (greyish or clogged), it’s time for a replacement.
4. Clean or Replace the Filter
Depending on whether your filter is reusable or disposable:
Disposable Filters: Simply discard them and replace them with a new one of the same size and type.
Reusable Filters: Clean them by vacuuming off loose dust and then washing them if necessary. To wash:
Soak in warm water with mild detergent for about 10–15 minutes.
Rinse thoroughly under lukewarm water.
Allow it to air dry completely before reinserting it.
5. Check Filter Size and Orientation
Before inserting a new filter, ensure you know its size:
Measure if necessary or check the size printed on the old filter.
Pay attention to airflow direction indicated by arrows on the filter; they should point towards the unit.
6. Insert New Filter
Slide in your new or cleaned filter:
Ensure it fits snugly into place without any gaps around edges.
Close any access panels securely.
7. Reactivate Your AC Unit
Once everything is back in place, turn your AC unit back on at both the thermostat and power supply. Check that everything is functioning correctly and enjoy improved airflow and efficiency.

Maintenance Tips for Air Conditioning Filters
To maintain optimal performance from your air conditioning system:
Regular Checks: Inspect filters every month during peak usage seasons (summer/winter) and change them every 1–3 months based on usage and environmental factors (pets, allergies).
Keep a Schedule: Mark your calendar for when to check/change filters next; this helps avoid forgetting.
Consider Upgrading Filters: Higher-efficiency filters can capture smaller particles but may require more frequent changes due to increased airflow resistance.
Conclusion
Removing and maintaining your air conditioning filter is a straightforward process that significantly impacts your home's comfort and energy efficiency. By following these steps regularly, you ensure that your air conditioning system operates smoothly and effectively while improving indoor air quality. Remember that regular maintenance not only enhances performance but also extends the lifespan of your unit, saving you money in repairs and replacements over time.
Hongrun Purification, also known as Jiangsu Hongrun Purification Co., Ltd., is a leading supplier in the field of air filtration.
We focus on the research and development, production and sales of various air filtration products, which are widely used in household air conditioners, car air conditioners, central air conditioners, ventilation systems, fresh air systems, air purifiers, dehumidifiers, refrigerators, printers, copiers, smart Toilets, range hoods, vacuum cleaners, medical purification equipment, personal protective respirators, semiconductor factories, pharmaceutical factories, livestock farms and other fields.
Welcome to inquiry if you need to know more about air conditioning filter details or order wholesale.
