
Introduction
The YC-L76 offers universal compatibility with various wall boxes, ensuring easy installation for homeowners. Here’s a step-by-step guide to installing the smart control panel in your system.
Installation Steps
- Check Compatibility: Ensure your wall box supports the universal bracket included with the YC-L76.
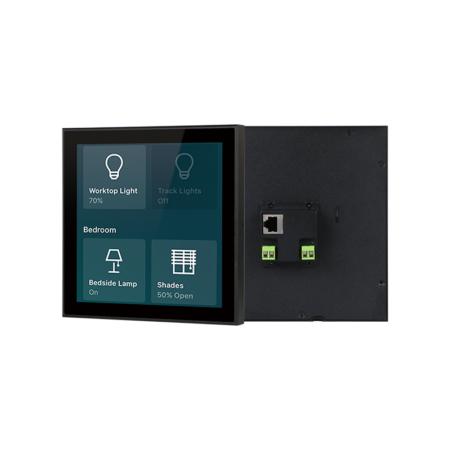
- Mount the Panel: Attach the panel to the wall using the provided bracket and screws.
- Connect Power: Use POE to power the device, simplifying the setup process.
- Connect WiFi/Bluetooth: Sync the YC-L76 with your existing home automation system for full control.
Conclusion
With its easy installation process, the YC-L76 is a convenient choice for homeowners who want to add a smart control panel to their existing home automation system.
4 inch Smart Home Touch Control Panel
5 inch Smart Home Touch Control Panel
5.5 inch Smart Home Touch Control Panel
6 inch Smart Home Touch Control Panel
7.6 inch Smart Home Touch Control Panel
8 inch Smart Touch Control Panel
10.1 inch Smart Touch Control Panel
11.6 inch Smart Touch Control Panel
14 inch Smart Touch Control Panel
PTZ Camera Touchscreen Controller
YC-SM41P (White) 4 inch Smart Home Automation Touch Control Panel
YC-SM41P(Black)4 inch Smart Home Automation Touch Control Panel
5"Smart Home Touch Control Panel
YC-SM55P 5.5 inch Smart Home Touch Control Panel
YC-SM06P(Black) 6"Smart Home Automation Touch Control Panel with LED Light Option
YC-L76(Black)7.6″ Smart Square LCD Display Home Automation Touch Control Panel
YC-SM08M 8″ PoE Smart Home Automation Touch Control Panel
YC-SM116P(Android 11 / Linux) 11.6″ Smart Home Automation Touch Control Panel
YC-SM116P (Ubuntu)11.6 inch Smart Home Automation Touch Control Panel
YC-SM116P(Debian)11.6 inch Smart Home Touch Control Panel with RK3568
YC-PTZ10 PTZ Camera Touch Screen Controller with 3D/4D Joystick